Quick Links
The Forgotten Temple is the first massive area you’ll explore inThe First Berserker: Khazan. In fact, it is fair to say that it isn’t really one area, it is more like three. First, you’ll start at The Ember, fight your way through scads of undead, find your way into the Forgotten Temple, fight past tons of dragonkin until you end up under the temple, and then work your way back up all over again.
From multiple mini boss-esque encounters to a handful of statue-orienting puzzles to searching every crevice for treasures, there’s a lot going on. This guide will take you through all of it and ensure you don’t miss anything along the way.

Soulstone?
1
Head straight and activate the Blade Nexus on your left. Head down the path until it opens up into a field. You’ll encounter your first set of undead soldiers here. They will resurrect if you don’t hit their corpses after you kill them. From the path you can head straight, to the left, or to the right.
If you head straight, the path hooks to the left and hits a dead end with aFire Enhancer. The right path will lead you to an undead archer ambush and will get you aVitality Tome.
In this area, there is a path on your left and an archer on the right. From a distance, pick the archer off with a spear, then put another spear in their body to stop them from resurrecting. After fighting through a few skeletons, you’ll get aWater Spirit Fuelitem from where the archer was perched.

Back on that path, head upward. You’ll fight a bunch of undead warriors in a field, you’ll also fight a skeleton with a massive club here. Once you kill them, move forward up the stone stairs. You’ll reach another forking path. To the left is aWillpower Orbas well as another undead warrior with a massive club. The right will bring you to a fight with a mini-boss.
This skeleton uses a massive two-handed sword. Their unblockable Burst Attack sees them thrust their massive sword forward. Beyond that, they simply rely on a three-hit combo. The third hit is a massive overhead swing that leaves them vulnerable.

Just time the combo and try to perfect guard the hits. He drops Volk Warrior gear, Spirit Orbs, and Transmutation Shards. The chest beside them hasReforged Dual Wield, Hunter’s Shoes, Necklace of Good Fortune,and aConcentrated Fire Essence.
You will be able to hit him with your javelin twice before he can get to you. This is a good way to dish out some solid damage risk-free.
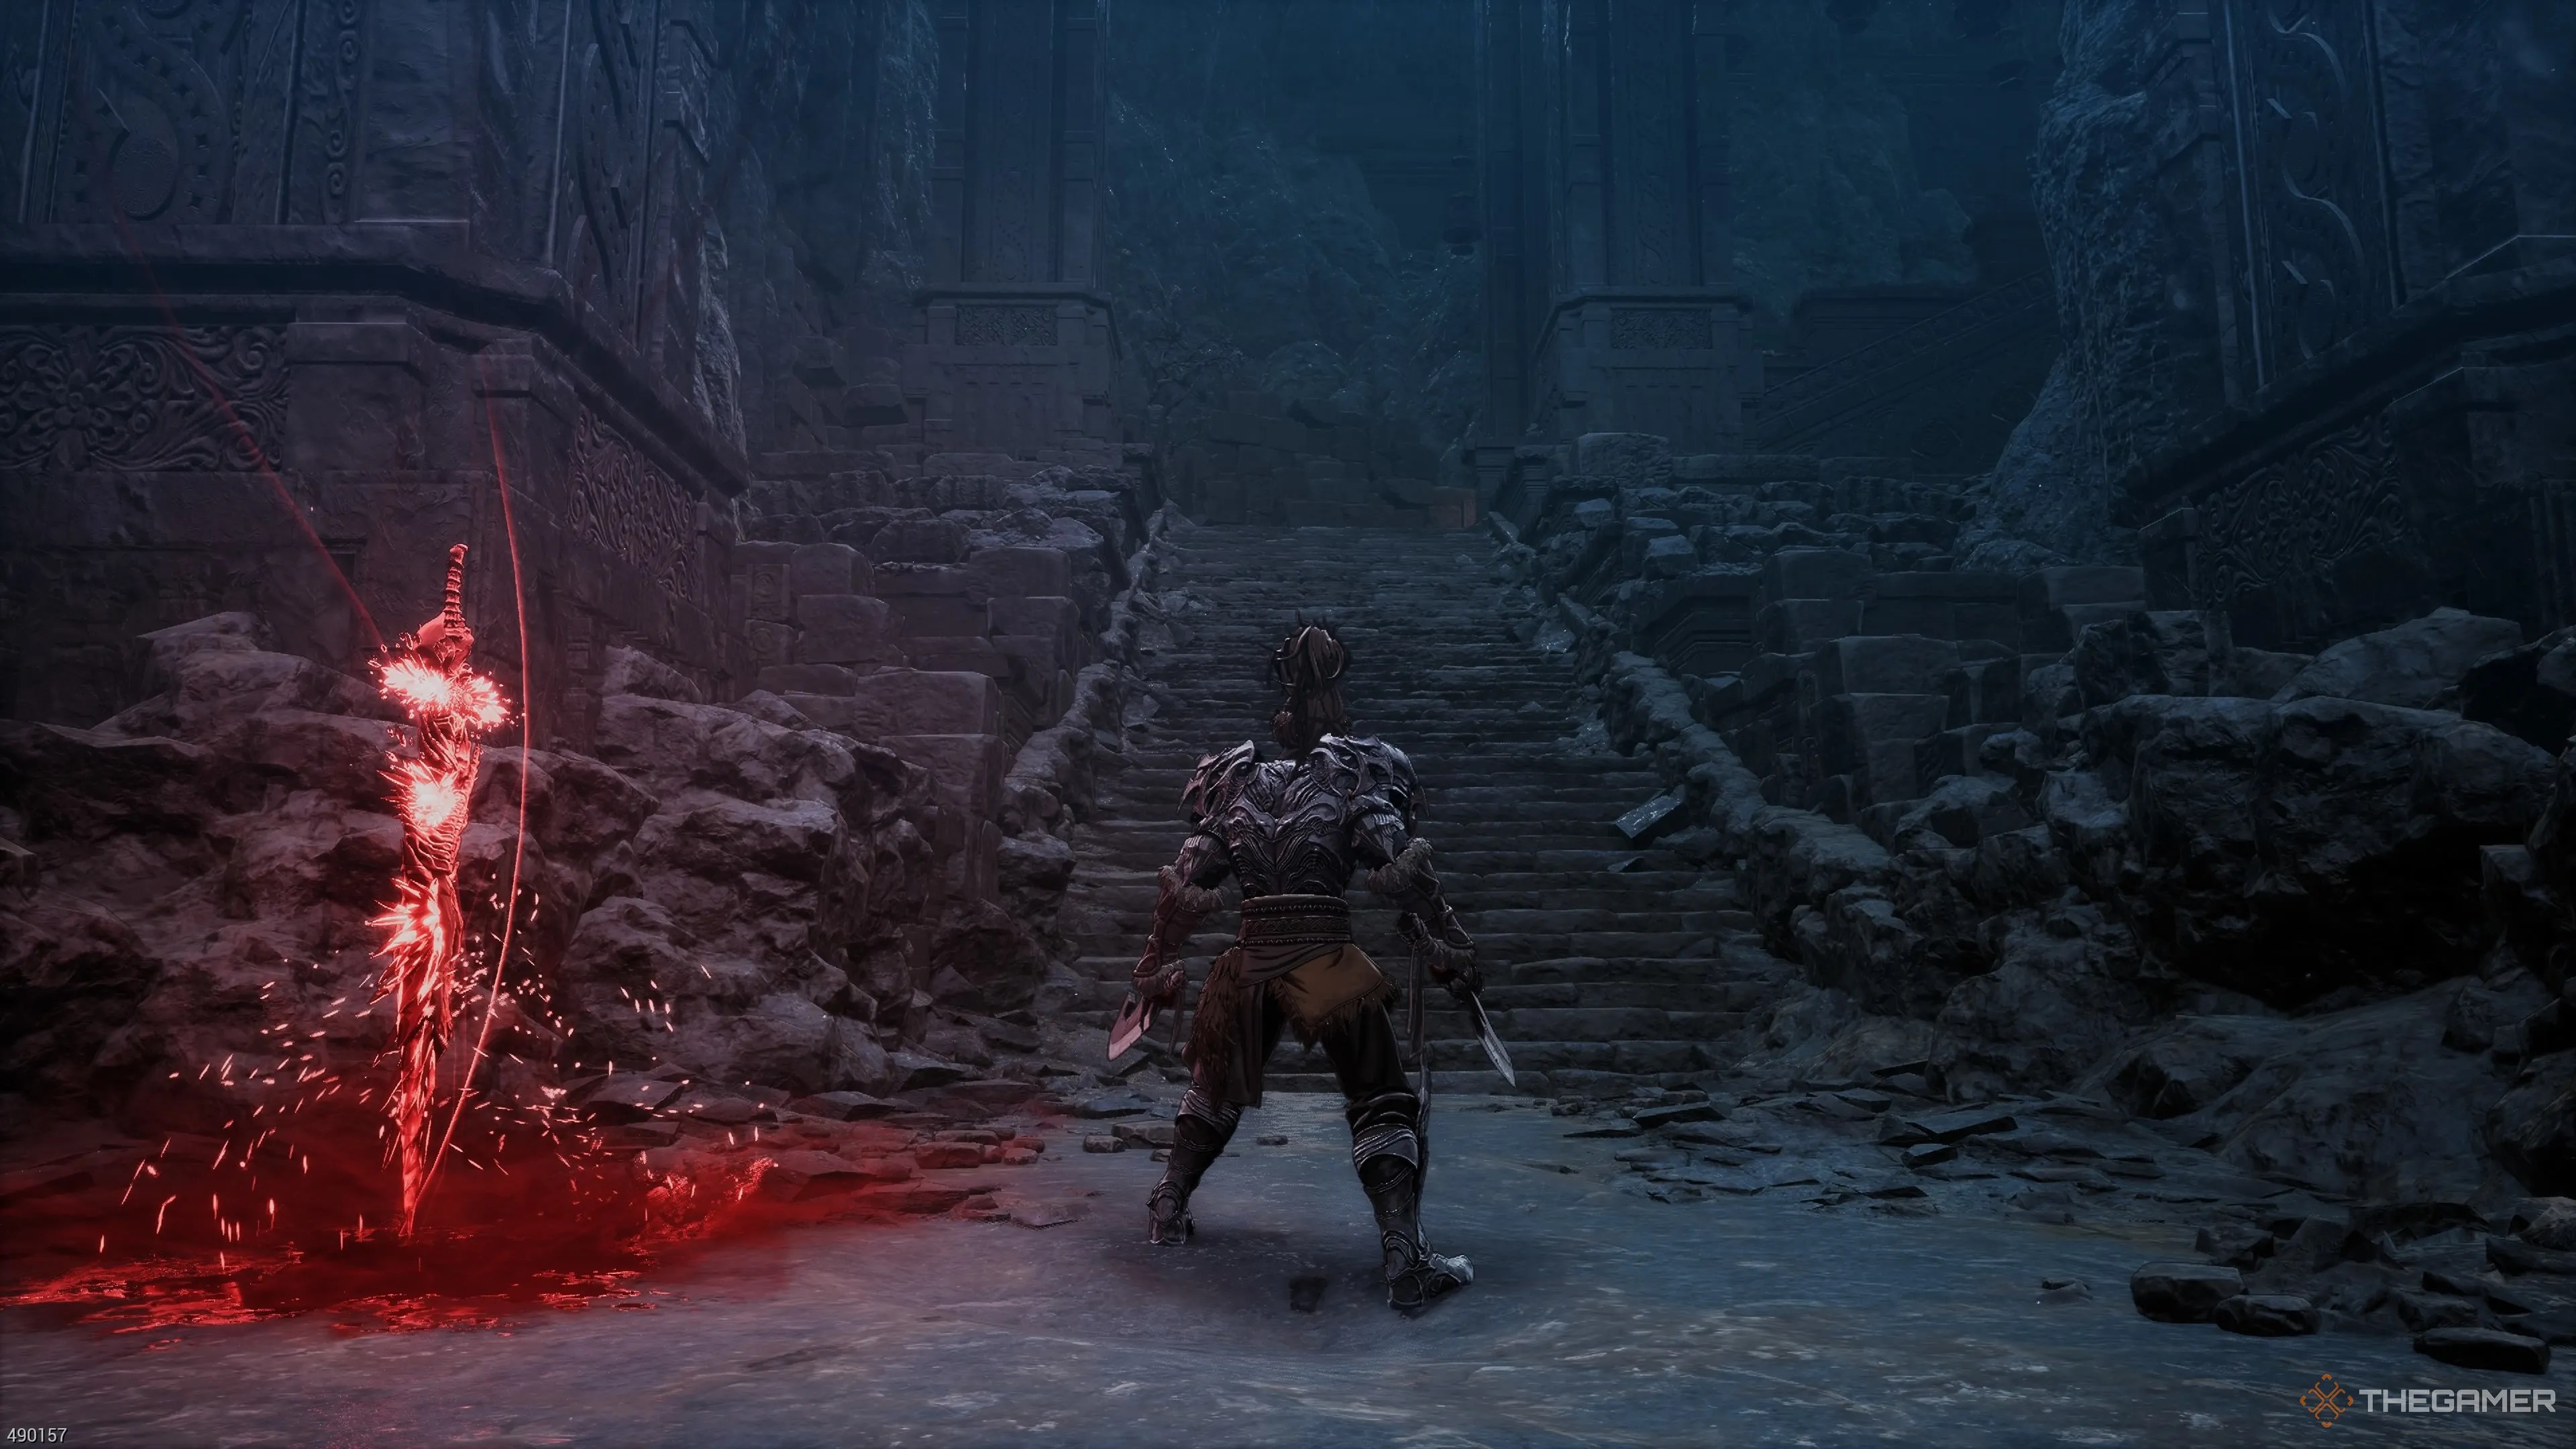
The First Soulstone
Once you have dispatched the miniboss, head back to the steps, and look to the left of them. There should be a path that is blocked by some wooden junk. Destroy it, head down said path, and you’ll see this stage’s firstSoulstone (1/3).
Move forward up the stone steps. AGrave-Robbers Memoireis sitting in front of a corpse slumped up against a column. This area has a massive set of doors, a path leading to the right, and north of the entrance to the path to the right, you’ll see a hole in the wall that is blocked off with wooden stakes.

Move through the doors first so that you may unlock the next Blade Nexus. Next to the Blade Nexus is anAssassin’s Elixer and some stones. However, double back to where you found the corpse after you unlock bind that nexus, and head to the right of the door. You’ll see a hole in the wall blocked by some wooden spikes.
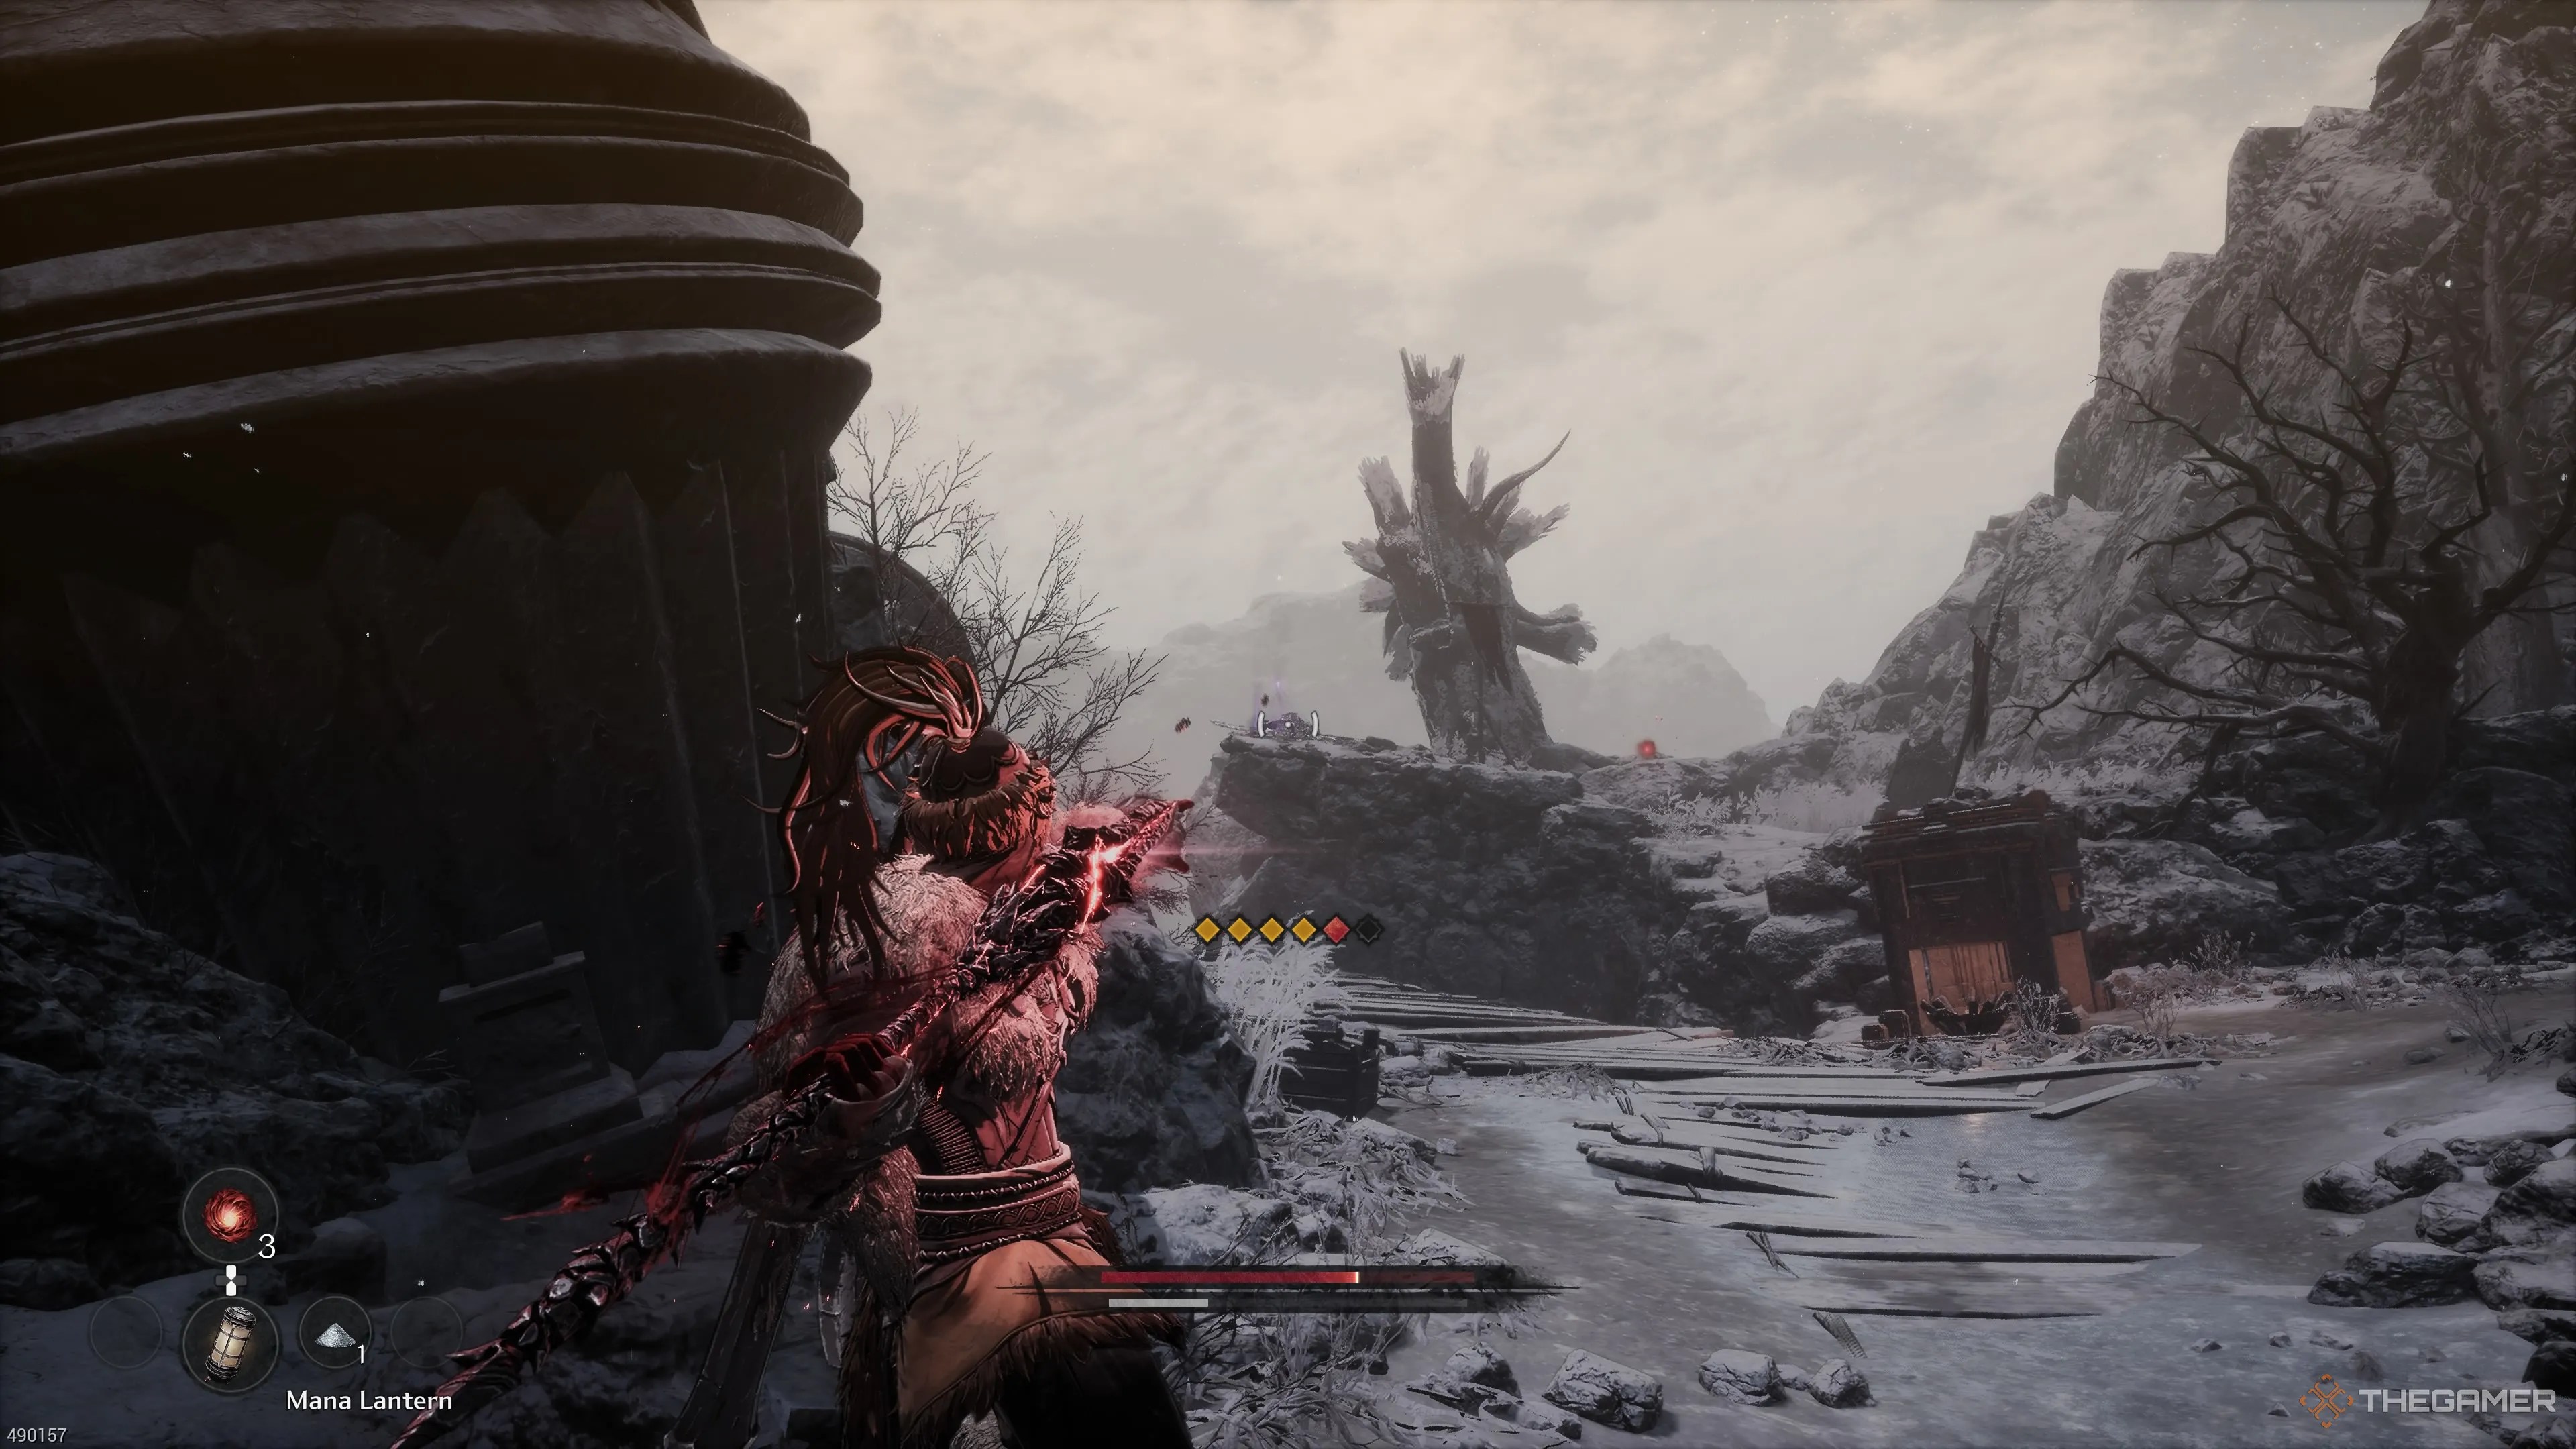
Smash the spikes, and head through the hole in the wall. This will take you up and around a clearing straight to a undead ice archer. Take them out. Now, head down the path that leads to the right, take out the three skeletons here (if you haven’t taken them out with your javelins already), and absorb the bandit’sSoul Tears.
![]()
Now, head back through the doors, travel up the steps, and you’ll find yourself in a massive church with three lizard men worshiping at an idol. Take the big one out with spears. Absorb the Archeologist’sSoul Tearsin the middle of the room.
The Second Soulstone
To the right of the stairs are two more lizard men. One is an archer. After taking them out, look for theSoulstone (2/3)hiding behind a few pots. Climb the stairs, if you head to the left, there are a few Dragonkin to fight, and you’ll get aFire Resistance Elixir, as well as aConcentrated Earth Essencehiding behind some boxes.
If you head right, and forward (so the side of the stairs leading to the third floor, you’ll fight a Dragonkin warrior and a Dragonkin archer outside a room. In the room, you’ll get twoSmall Spirit Orbs. Watch out out, there is an arrow trap in the center of the room.

To the right, you’ll find two archers. Once you take them out, drop down through the hole in the railing. You should see a bard down below rocking out. Absorb theSoul Tearsfrom the Bandit’s corpse. Grab the glistening, golden-glowing orb to get moreNethrealm Energy! Now, talk to the bard.
The Bard’s Shop
You can talk to the bard and engage in a little jibber-jabber, but his primary purpose is to sell you wares. The most interesting thing he has to offer arethree Primeval Regression Orbs, which will allow you to reset a stat. We’ve provided everything for sale below.
2

3,000
20

1,500
3
10,000
5
2,100
On the way up to the third floor, you’ll encounter two dragonkin warriors and two archers. Finally, you’ll get into a scrap with a mid-boss. This is a massive dragonkin warrior wielding a giant mace. Their Burst Attack will see them spin rapidly. This is surprisingly fast once it gets going, so,once you see the Burst Attack symbol, just run awayand get some distance. Beyond that, lay into him with combos every time he misses an attack. His attacks are pretty slow, so it is pretty easy tododge through them.
Once you climb the stairs to the third floor, you’ll be faced with a massive set of doors that you won’t be able to budge. There is a cell to your right that contains a lever, but you won’t be able to get inside. There is another room to your left (you won’t be able to see it because of the massive stone rubble obscuring your view) with a dragonkin warrior and archer inside. There is aReports on the Dragonkin documentfound here. Pull the lever in this room, and the left side of those massive doors will light up. You won’t be able to get into that cell yet, so, head down the hallway and into the elevator.
Beneath the Forgotten Temple
Enemies
Dragonkin Warrior (sword), Dragonkin Warrior (claws), Dragonkin Archer, Undead Archer, Undead Ice Archer, Undead Swordsman, Undead Vagrant
Treasures
2x Soul Tear Dust, Lacrima of Circulation, Necklace of Avarice, Ghost Gem
This will lead you to the Beneath the Forgotten Temple area. There is a Blade Nexus here as well. Head straight forward, and you’ll encounter Daphrona. Speak to her, and you canunleash Soulstones. To the right of the Blade Nexus, you’ll be attacked by two dragonkin. After taking them out, head forward. There is another dragonkin mid-boss down this way: the Dragonkin Lancer.
This one has a massive spear, and likes to leap high into the air before plunging down on you. Outside of that, they have two combos they’ll use: a three-hit combo that features two stabbing attacks, followed by a wide swing, and a three-hit combo that features three wide swinging attacks. If they spin their spear above their head, you know the horizontal slashing combo is coming.They are vulnerable after their jumping attack.
The Whirlwind attack in the Dual Wield skillset is quite good at helping you avoid most of this dragonkin’s combos.
The door on the right leads to three dragonkin: a swordman, a claw user, and an archer. Once the two melee fighters see you, head back out the door to deal with them in the hallway, then head back in to take out the archer. The item at the back of the room is a trap. There is a dragonkin hiding around the corner. Kill them before grabbing it. The item in question is threePoison Resistance Elixers. There is alsoSoul Tear Dustto claim here as well.
Head back to where you fought the dragonkin lancer, and head up the stairs. You’ll have a few dragonkin slashers and warriors to fight in this massive room. There is also an archer on the other side of the row of statues. Near the archer, you’ll findA Scout’s Time-Worn Journalentry. There is another sideroom, but don’t worry about that yet.
The First Statue Puzzle
You’ll notice that there are two rows of statues and each row has a statue that is facing in a different direction from the others. You’ll want to turn these statues so that they are facing the same direction as the others. This will raise a bridge. Now you’ll want to head into that other room.
This area has two undead frozen archers. Take one of them out with your javelin (remember to throw a second javelin at their body). Then, head up the stairs and take out this second archer. There is also an undead warrior with a club hiding up here, so be careful. Additional undead warriors will rise from the ground when you get close to the cell in the corner of this room. There is anEarth Enhancerin the cell.
In a side room, you’ll find a chest. This is a trap.The chest will explodeafter you open it!So, open it and get some distance. Inside you’ll find aFrozen Mountain Spear. Once you’ve cleared out this area, head up, and you’ll find that bridge you just finished raising. Pull the switch on the odd device to lower the gate that leads to the massive device. Descend the ladder.
Once you enter the room with the device, head left, you’ll find yourself on the other side of the area where Daphrona is hanging out. You can grab aFire Enhancerhere. Head back the other way, right of the entrance, and you’ll reach a room with a Blade Nexus.
From the Blade Nexus, head up the spiraling stairs and take out the two archers. At the top of the next set of stairs, you’ll find two more Dragonkin slashers and an archer. They are lying down, so wake them up by killing one with a javelin. Watch out, any ofthe pots that are smoking will explodeif you hit them. Descend the ladder to gettwo Willpower Orbs(then climb back up).
In the next room, there will be two archera perched on the bridge above. Take them out with your javelins. There are more dragonkin warriors playing possum surrounding the massive structure in the center of the room. As long as you stay pretty close to them, you can fight them individually. However, if you move around too much, you will get the attention of the other nearby Dragonkin. Once you’ve cleared the area next to the stairs, claim theSoul Tear Dustfrom the corpse.
There is aWater Enhanceron the bridge where the archer was. There is also a treasure chest on the bridge that holds aNeglected Greatsword, Ashen Wolf Hat, Ashen Wold Pants,andWater Enhancer.
The Elite Masterless Guardian Miniboss And Ghost Gem
Once you have fully cleared out this area, head up the stairs, and you will encounter your first Elite Enemy.This is just a buffed-up version ofthe Dragonkin you fought at the top of the stairsin the church. Just dodge through his massive, telegraphed attacks, then attack him when he is recovering. Make sure you heal often, though, as he does hitextrahard, so one mistake is all it takes. He’ll drop aHunter’s Scrollas well as a piece ofSoul Eater and Butcher gear(it appears to be randomized).
Now, while facing the row of statues, turn left and look for an orange glowing item in front of a massive cog: that is aGhost Gem. You’ll use this item to unlockVeronika the Advocate.
The Second Statue Puzzle And The Final Soulstone
There is another statue puzzle here. This time, you have three statues to shift. You want toturn them so that they are facing the three statuesthat are up against the wall. This will raise the stone platform, allowing you to pass. Before you leave this room, make sure to destroy theSoulstone (3/3)with a javelin. It is where the three statues thatjustlowered used to be.
The stone floor that’s a little past the row of statues, that leads to the stairs, is a trap. If you run on top of it, you’ll fall to your death.
Head up the stairs, and pull the lever on the contraption. This will lower a gate in the room with the strange device. Head down the stairs, fight two skeletons with massive clubs, and grab theFire Resistance Elixir. You’ll be back in the room with the strange device. There are threeAssassin’s Elixirsto your left as well as a set of stairs going down. Head down those stairs. There are two undead warriors and an undead archer on the bridge.
Patrolling the room on the other side of the bridge is that same giant skeleton with a massive greatsword. Once you’ve killed the miniboss, continue down the path, climb the ladder, and you’ll run directly into a treasure chest. Inside is anImperial Soldier’s Greatsword, Hunter’s Vest, Necklace of Avarice, and Fire Spirits Fuel. All that is left to do is hop down onto the stone platform, and pull the next lever.
Enter into the circular chamber, and you’ll face off against the Spirit of Adversity. This is a clone of Khazan. They’ll use the great sword and can deflect. Once you defeat them, you’ll be rewarded with theButcher’s Helm, Hunter’s Shoes, Inner Essence, Spirit Orb, and Lacrima of Circulation. Now, stand on the giant button in the center of the room, and this platform will reveal itself to be an elevator. It will take you back up to the church, and into that cell with the lever from before.
Pull the lever, and leave this cell. You’ll now be at the Heart of the Forgotten Temple. Activate the Blade Nexus. Once you head through that giant set of doors, you will be facing off against the third boss of the game: Viper.
